
Tech
Transform Your Windows: Step-by-Step Guide to Installing Roller Blinds
Ready to upgrade your windows with stylish and functional roller blinds? Installing roller blinds is a straightforward process that can be completed in just a few simple steps. Whether you’re a seasoned DIY enthusiast or a first-time installer, this step-by-step guide will walk you through the process of installing rulood like a pro.
Step 1: Gather Your Tools and Supplies
Before you begin, make sure you have all the tools and supplies you’ll need for the installation process. This typically includes a drill, screws, a level, a measuring tape, and a pencil. You’ll also need the roller blinds themselves, including the brackets and mounting hardware provided with the blinds.
Step 2: Measure Your Windows
Start by measuring the width and height of your windows to determine the size of the roller blinds you’ll need. Use a measuring tape to measure both inside and outside the window frame if you’re installing inside mount blinds. Be sure to account for any obstructions such as window handles or locks when taking your measurements.
Step 3: Mark the Mounting Locations
Using a pencil and a level, mark the mounting locations for the brackets on the wall or window frame. For inside mount blinds, place the brackets just inside the window frame at the top corners. For outside mount blinds, position the brackets above the window frame, making sure they are evenly spaced and level.
Step 4: Install the Brackets
Once you’ve marked the mounting locations, use a drill to screw the brackets into place. Make sure the brackets are securely attached to the wall or window frame and that they are level. If necessary, use wall anchors to provide extra support for the brackets.
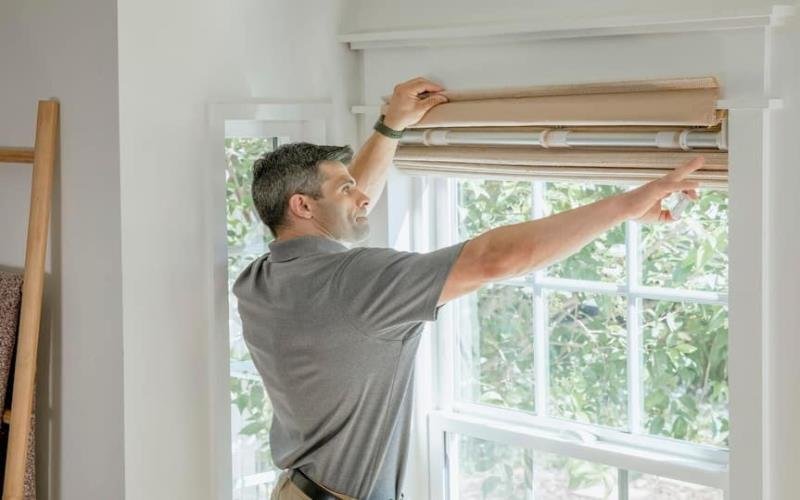
Step 5: Attach the Roller Blind
With the brackets securely installed, it’s time to attach the roller blind. Slide the roller blind into the brackets, making sure it is centered and level. Depending on the type of brackets provided with your blinds, you may need to secure the blind in place with screws or clips.
Step 6: Test the Operation
Before finishing up, give your roller blind a test run to make sure it operates smoothly and evenly. Pull the blind down and release it to ensure it rolls up and down properly without any binding or sticking. If necessary, adjust the tension of the spring mechanism according to the manufacturer’s instructions.
Step 7: Add Finishing Touches
Once your roller blind is installed and functioning correctly, add any finishing touches such as bottom rails or valances to complete the look. If desired, you can also add decorative accents such as tassels or pulls to customize the appearance of your blinds.
Step 8: Enjoy Your New Roller Blinds
With your roller blinds successfully installed, it’s time to sit back, relax, and enjoy the transformation of your windows. Whether you’re looking for increased privacy, light control, or simply a stylish update to your space, roller blinds offer a versatile and practical solution that will enhance any room in your home.
Transform your windows with ease by following this step-by-step guide to installing roller blinds. For a wide selection of high-quality roller blinds and expert advice, visit Avaeksperdid today. Their experienced team can help you find the perfect blinds to suit your style and functionality needs. Don’t wait – start enjoying the benefits of roller blinds in your home today!

Beam Shaping lens

Manhattan Car Shipping For Importing Heavy Equipment

Daftar Judi Situs Slot Gacor Demo Resmi Pragmatic Play Gratis

Refrigerator and Dryer maintenance tips: Improve performance at zero cost

Travel Management Platforms: Transforming Corporate Travel with Technology

Small size, Big Impact: The versatility of a 1.5 Litres Pressure Cooker

The Essential Guide to Sven Coop Game Icons Banners

Pallavi Debnath (Actress)

Why do you need to do Bollywood Studio tours in Mumbai?

Transform Your Windows: Step-by-Step Guide to Installing Roller Blinds
Beam Shaping lens
Manhattan Car Shipping For Importing Heavy Equipment
Daftar Judi Situs Slot Gacor Demo Resmi Pragmatic Play Gratis
Refrigerator and Dryer maintenance tips: Improve performance at zero cost
Travel Management Platforms: Transforming Corporate Travel with Technology
Small size, Big Impact: The versatility of a 1.5 Litres Pressure Cooker
The Essential Guide to Sven Coop Game Icons Banners
Pallavi Debnath (Actress)
Why do you need to do Bollywood Studio tours in Mumbai?
Transform Your Windows: Step-by-Step Guide to Installing Roller Blinds
-
 News3 months ago
Challenging Stereotypes: Recognizing the Power of Women’s Art
-
 Blog3 months ago
Food for Thought: Vikki Nicolai La Crosse Wi Explores The Nutritional Advantages of Eating Organic
-
 Blog3 months ago
Enhancing water quality with ilmap’s innovative filter nozzles
-

 News3 months ago
EU Sanctions by the Numbers: The Depth and Bite in the Russia-Ukraine Conflict